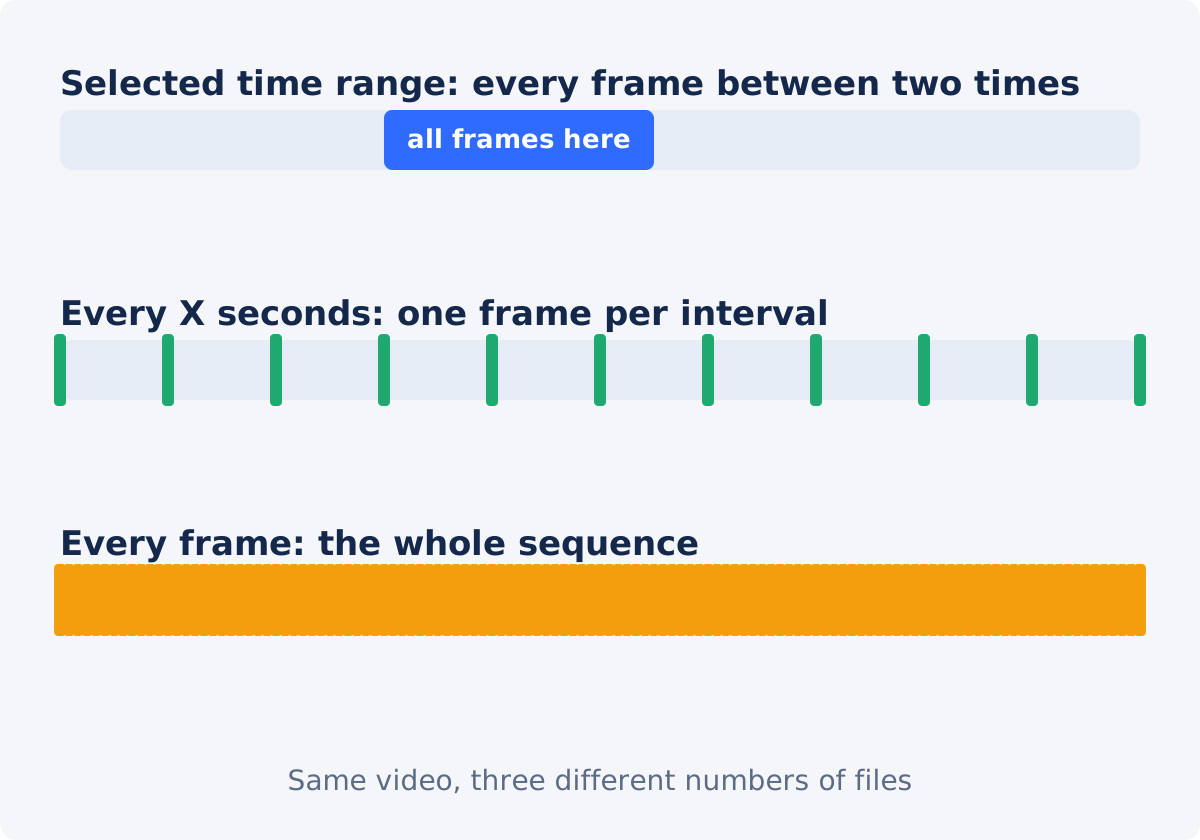
The three modes
- Selected time range. Every frame between a Start time and an End time. Precise and dense: one second of 30 fps video is 30 images. Use it to choose the sharpest frame in a short window, or to get a complete sequence of a short action.
- Every X seconds. One frame at a fixed interval through the whole video, starting at the first frame. Sparse and even: a way to survey a long recording, build a contact sheet, or pull one image per scene without picking times by hand.
- Every frame. The complete frame sequence of the whole file. Exhaustive: the number of images is the duration in seconds times the frame rate. Use it only when each frame genuinely matters, and on short videos.
All three run on the whole uploaded file in one pass, and the result is a single ZIP.
Choosing the mode for the task
- One good still from a moment: Selected time range over one or two seconds, then pick from the results.
- Overview of a long recording, a slide from each section of a lecture, a frame per scene for a storyboard: Every X seconds, with an interval close to how often the picture changes.
- A frame sequence for analysis, an animation reference, or a flipbook of a short action: Every frame, on a clip trimmed to the action first.
- A time-lapse-style strip from a long steady recording: Every X seconds with a large interval.
If the video is long and only part of it is relevant, trim it first with Trim Video. Every mode then works on less material and produces fewer, more relevant files.
Step by step for each mode
With the tool, you can save video frames as JPG or PNG in any of the three modes. Upload one video first; MP4, MOV, AVI, WebM, and MKV are the common inputs, and processing depends on the codec inside the file. Then choose the Output format, JPG or PNG.
Selected time range
- Set Extraction mode to Selected time range.
- Enter Start time and End time as hh:mm:ss, for example 00:00:05 and 00:00:10.
- Click Convert to Photos, inspect the preview, and click Download All (ZIP).
Every X seconds
- Set Extraction mode to Every X seconds.
- Enter the interval in seconds, for example 5.
- Click Convert to Photos, inspect the preview, and download the ZIP.
Every frame
- Set Extraction mode to Every frame.
- Check the estimate below first; trim the video if the count is large.
- Click Convert to Photos, wait, and download the ZIP.
Reset clears the result so you can run another mode on the same upload.

Estimating the number of files before you run
A minute of arithmetic prevents a surprise download.
- Selected time range: range length in seconds × frame rate. 5 seconds at 30 fps ≈ 150 files.
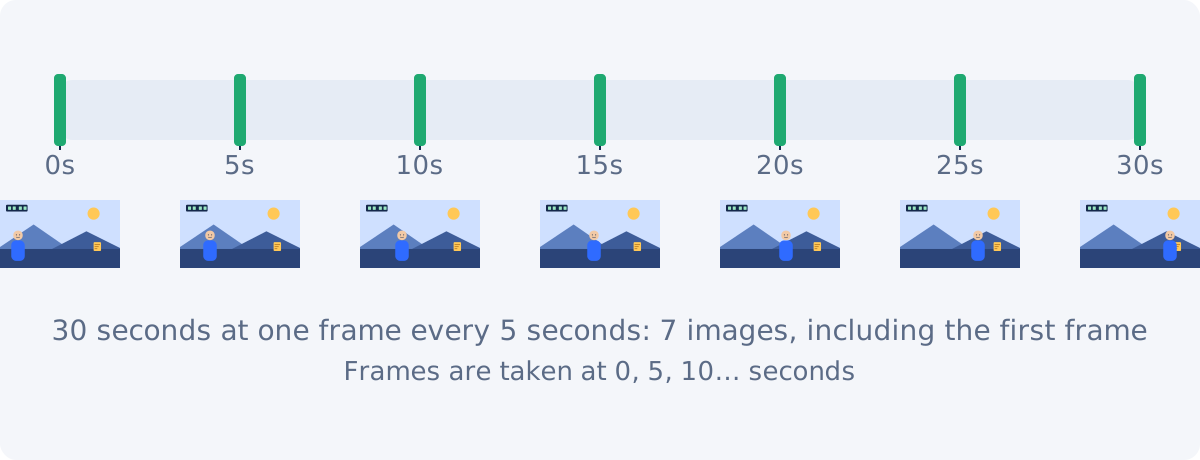
- Every X seconds: duration ÷ interval, plus one for the first frame. 30 seconds at every 5 seconds = 7 files (at 0, 5, 10, 15, 20, 25, and 30 seconds). A 10-minute video at every 10 seconds ≈ 61 files.
- Every frame: duration in seconds × frame rate. 30 seconds at 30 fps ≈ 900 files; 5 minutes at 60 fps ≈ 18,000 files.
The frame rate is in the video's properties on your computer; 24, 25, 30, and 60 are the usual values. For size, a 1080p JPG frame is typically a few hundred kilobytes and a PNG several times more, so multiply by the count. The tool does not state a maximum number of frames or a ZIP size limit, but a ZIP with thousands of large images is slow to produce, slow to download, and awkward to open, so keep every-frame extraction for short clips.
Why every-frame extraction creates so many files
Video looks continuous because it shows 24 to 60 pictures every second. Extracting every frame turns each of those pictures into a file. Most neighboring frames differ only slightly, so a full extraction is mostly near-duplicates; that is exactly what analysis, rotoscoping, or an animation reference needs, and exactly what a thumbnail search does not. In a test, a six-second 720p clip at 30 fps produced 180 PNG files totaling about 170 MB. Scale that to a few minutes and the archive is several gigabytes. Trim to the seconds you need before choosing this mode.
Working with the ZIP
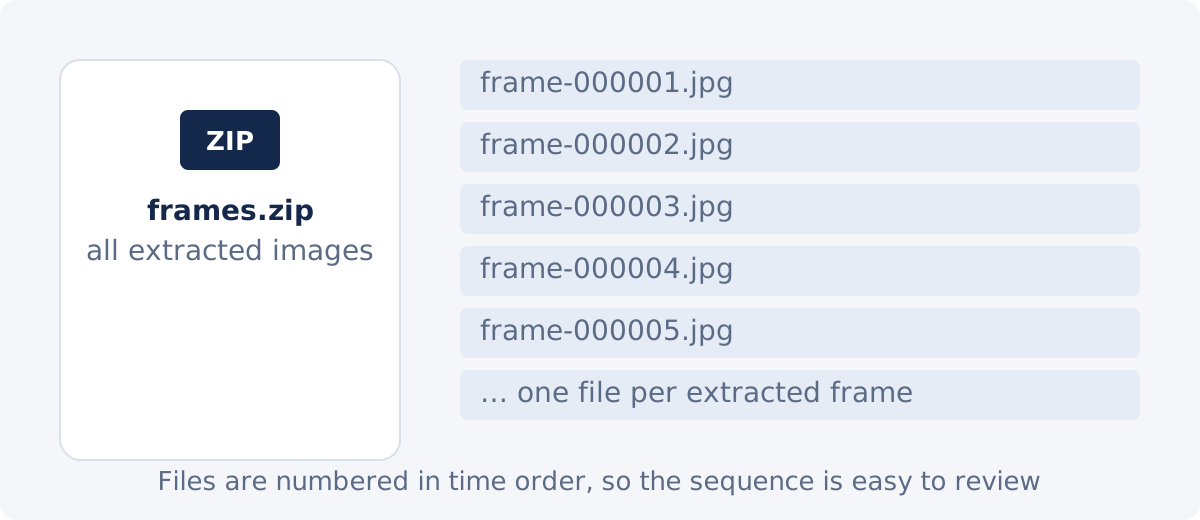
The download is one archive named for the extraction. Inside, the files are numbered in time order: frame-000001, frame-000002, and so on. The preview grid on the page shows a sample of the extracted images, up to twenty, so you can confirm the extraction worked; the ZIP holds the complete set.
- Unpack into a folder named for the source and the mode, such as
lecture-03-every-10s, so the frames stay traceable. - Use your computer's image viewer in a large-thumbnail view to scan the set, and open candidates at 100% to judge sharpness.
- Keep and rename the winners, and delete the rest. For an interval extraction, the file number times the interval tells you the time in the video: frame-000013 at every 5 seconds is 60 seconds in.
- For a range extraction, the time of a file is the Start time plus the file number divided by the frame rate.
When interval sampling is enough
Most jobs that sound like "I need all the frames" are served by an interval. A contact sheet for a talk needs one frame per slide, not thirty per second. A storyboard needs one frame per shot. Choosing a candidate thumbnail needs a dozen options, not a thousand. Set the interval to roughly how often the picture changes, look at the result, and then use Selected time range on the one or two seconds that matter to pick the exact frame. Two small extractions beat one huge one.
When a short video or a GIF is the better output
If the goal is to show motion rather than to obtain files, images are the wrong container. A sequence of frames that will be viewed as a sequence is better kept as a short clip, trimmed to the action, or as an animated GIF, which Convert Video to GIF makes from a time range with its own frame-rate and size settings. Extract frames when each image will be used on its own: placed on a page, compared, measured, edited, or printed.
| Mode | Best for | Inputs required | Expected number of files | Main risk |
|---|---|---|---|---|
| Selected time range | The sharpest frame in a moment; a short action sequence | Start and End, hh:mm:ss | Range seconds × frame rate | Long ranges produce hundreds of files |
| Every X seconds | Surveying a long video; one frame per scene; contact sheets | Interval in seconds | Duration ÷ interval, plus one | The moment you want can fall between samples |
| Every frame | Analysis, animation reference, frame-accurate review of short clips | None beyond the format | Duration seconds × frame rate | Thousands of files and a very large ZIP |
Conclusion
Range for precision, interval for survey, every frame for exhaustive work on short clips. Estimate the count with duration and frame rate before you click, trim the video when only part of it matters, and treat the ZIP as a set to sort rather than a result to use as is. If the frames will be watched as motion, keep them as a clip or a GIF instead.
Know which mode you need? Open the video-to-photo tool, set the range or the interval, and download the frames as one ZIP.
Frequently asked questions
How many frames does "every frame" produce?
Duration in seconds times the frame rate. A 30-second clip at 30 frames per second gives about 900 images; at 60 fps, about 1,800. Trim the video to the seconds you need before using this mode.
Where does "every X seconds" take its first frame?
At the very start of the video, then every X seconds after that. A 30-second video at every 5 seconds gives frames at 0, 5, 10, 15, 20, 25, and 30 seconds: seven images.
Can I download the frames one by one?
No. The result is delivered as one ZIP containing all extracted images. The preview grid shows a sample of them for checking; click a preview to inspect a frame. Unpack the ZIP and pick the frames you need on your computer.
Is there a limit on the number of frames or the ZIP size?
The tool does not state one. Large extractions take longer to process and download, and a ZIP with thousands of images is unwieldy, so use ranges and intervals to keep the set manageable.
Can I extract frames from two videos at once?
No. The tool works on one uploaded video per run. Run it once per video.
Should I extract frames or make a GIF?
Extract frames when each image will be used separately. Make a GIF, or keep a trimmed clip, when the frames will be viewed as motion.


