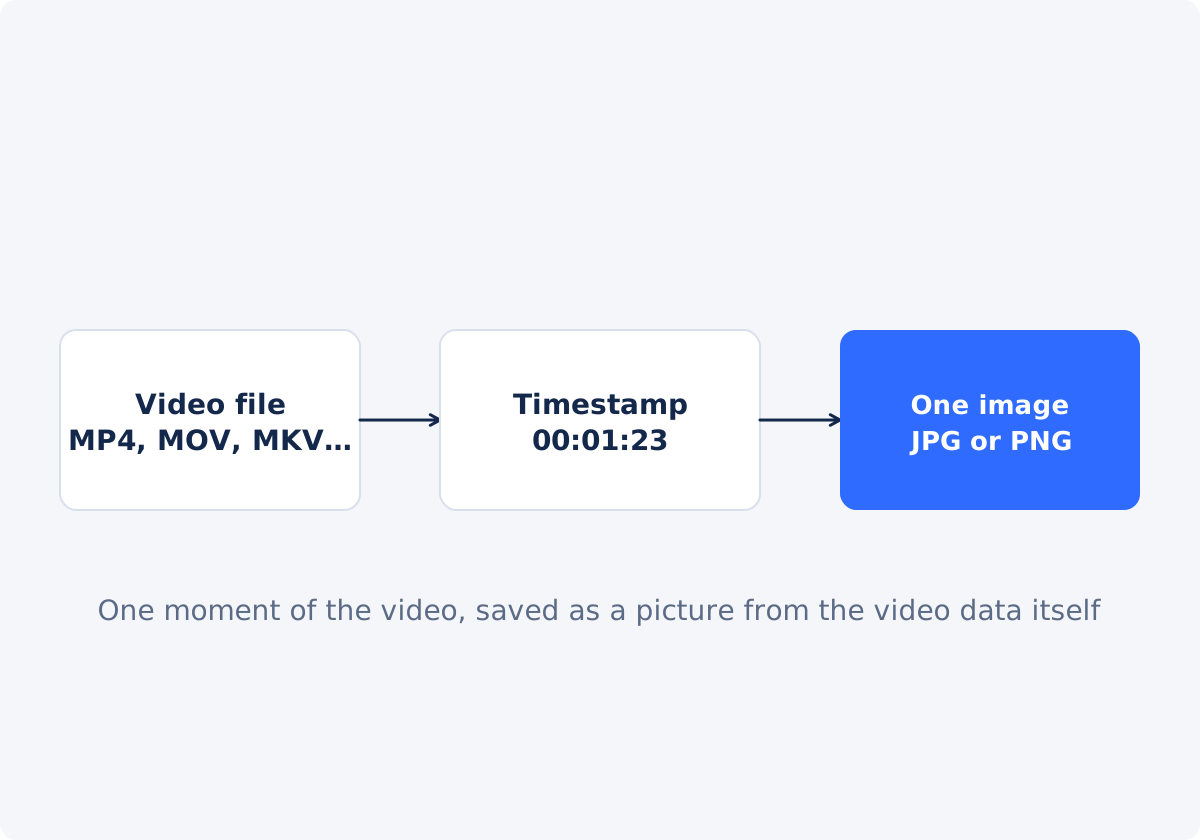
Frame extraction vs. a screenshot
A video is a sequence of still frames. Extracting a frame means decoding one of those frames and writing it out as an image, at the video's own resolution and with nothing added. A screenshot, by contrast, captures whatever is on your screen: the frame as the player scaled it to your window, plus any controls, progress bar, or cursor that happened to be visible, and sometimes a frame the player was still blending between two moments.
For a quick reference a screenshot is fine. For a thumbnail, a slide, a print, or anything that will be looked at closely, extraction gives the cleaner and more accurate picture, and it gives you the exact frame at the time you name rather than the one you managed to pause on.
Finding the timestamp
The tool takes a time, not a picture, so the first job is to know the time. Any player that shows a clock will do.
- Play to the moment and pause. Read the time display, for example 1:23. Most players show minutes and seconds; some show a decimal.
- Step around it. Many desktop players step one frame at a time with the arrow keys or a period and comma. Use that to find the sharpest frame near the moment, then note the time.
- Write it as hh:mm:ss. The tool's field takes hours, minutes, and seconds: 1:23 becomes 00:01:23. Whole seconds are the practical resolution here; the tool has no frame-number or millisecond field.
The Deus.Video tool has no scrubber of its own, so finding the moment happens in your player, and the tool takes the number.
Step by step in Deus.Video
With the tool, you can extract a frame from a video by its timestamp.
- Upload one video. MP4, MOV, AVI, WebM, and MKV are the common inputs; other uploader extensions are accepted, and processing depends on the codec inside the file.
- Choose the Output format: JPG or PNG.
- Set Extraction mode to Specific timestamp.
- Type the time in the Timestamp field as hh:mm:ss, for example 00:01:23.
- Click Convert to Photos and wait for processing.
- Look at the preview. Click it to inspect the frame at a larger size.
- Click Download All (ZIP). The archive holds the image. Reset clears the result if you want to try another time.
The extracted image has the pixel dimensions of the video frame. There is no resolution, crop, or enhancement setting in the tool; it writes the frame as decoded.

Choosing a frame without motion blur
Motion blur is recorded into the frame when something moved while the camera's shutter was open. It is part of the picture, and no extraction option removes it. The way around it is to choose a different frame.
- Look for the still points. The top of a jump, the end of a gesture, the moment a turning head stops. Motion pauses there, and those frames are sharpest.
- Step frame by frame in your player across the second you want. Blur varies frame to frame, and one is usually cleaner than its neighbors.
- Prefer moments after a cut settles. The first frames after a camera move or a scene change are often soft.
- Try adjacent seconds. Since the tool takes whole seconds, extract 00:01:22, 00:01:23, and 00:01:24 and compare. Three quick runs cost little.

JPG or PNG for a single frame
JPG compresses the image with some loss, which is invisible on most photographic content and produces a small file. PNG stores the frame exactly as decoded, with no further loss, in a larger file. For a single frame, size rarely matters, so the choice is about content.
- JPG for a scene from a camera: a person, a landscape, a product. It is what thumbnails and social images usually want.
- PNG for a slide, a screen recording, text, diagrams, or anything with hard edges, and for a frame you will edit further, so that no extra compression is added before your edits.
Neither format adds detail. PNG preserves what the video frame had; JPG loses a little more. If the frame was already soft or blocky in the video, it stays so in both.

What decides the quality you can get
The ceiling is the frame stored in the video. Four things set it.
- Resolution. A 1920 × 1080 video gives a 1920 × 1080 image. A 640 × 360 video gives a small image, and nothing in the tool enlarges it.
- Compression. Video is compressed hard, especially after passing through a chat or a social platform. Individual frames can show blockiness or smearing that plays invisibly in motion but is obvious as a still.
- Focus and lighting. A soft or dark frame is a soft or dark image.
- Motion. Blur, as above.
Use the original video file when you have it, rather than a copy downloaded from somewhere. The original has been compressed once and holds the most detail.
| Situation | Recommended action | Why | Limitation |
|---|---|---|---|
| You know the exact moment | Specific timestamp, hh:mm:ss | One frame, no extra files | Whole-second precision |
| The moment is somewhere in a few seconds | Selected time range, then pick from the ZIP | Every frame in the range to choose from | Many files for a long range |
| The frame is blurred | Try the seconds before and after | Blur differs frame to frame | Continuous motion may have no sharp frame |
| Frame has text or UI | PNG | No added compression at edges | Larger file |
| Frame is a photographic scene | JPG | Small file, no visible loss | Slight artifacts at sharp edges |
| Source is a small or heavily compressed copy | Find the original file | More detail in the frame | Extraction cannot add detail |
Common problems
- Wrong moment. The time was read from a player that counts from a different start, or typed as mm:ss in an hh:mm:ss field, so 01:23 was read as one hour. Write the full hh:mm:ss.
- Black or blank frame. The timestamp fell on a fade, a cut, or the very first frame before the picture starts. Move a second forward or back.
- Blurred motion. Recorded in the frame; pick a neighboring second or a still point, as above.
- Blocky or smeared frame. Heavy compression in the source. Find a less compressed copy; the tool cannot repair it.
- The file did not process. The container is accepted but the codec inside is not readable. Convert the video to a common MP4 first with Convert Video, then extract.
- Timestamp beyond the end. The time is later than the video's length; check the duration in your player.
Conclusion
Extracting a frame is a matter of knowing the time and choosing the format. Find the moment in a player, step to the sharpest frame, write the time as hh:mm:ss, and take JPG for photographs or PNG for text and edits. The image is the video's frame, no better and no worse, so start from the best copy of the video you have.
Have the timestamp? Save video frames as JPG or PNG with the Convert Video to Photo tool, and compare a few neighboring seconds if the first frame is not the sharpest.
Frequently asked questions
Is an extracted frame better than a screenshot?
Usually. Extraction decodes the frame from the video file at its native resolution, with no player controls, scaling, or cursor in the picture. A screenshot captures the screen, which may be scaled and may include the player interface. For anything that will be looked at closely, extract.
How precisely can I choose the moment?
To the second. The Timestamp field takes hh:mm:ss, and the tool returns the frame at that time. To choose between individual frames within a second, use the Selected time range mode for a short range and pick the frame you want from the ZIP.
What resolution will the image be?
The same as the video frame: a 1080p video gives a 1920 × 1080 image, a 720p video gives 1280 × 720. The tool does not enlarge, crop, or sharpen the frame.
Why does my extracted frame look blurry?
The blur is in the frame, from motion during recording, soft focus, or heavy compression. Try the seconds before and after, look for a still point in the motion, and use the original video file rather than a downloaded copy.
Should I choose JPG or PNG?
JPG for photographic scenes, where the loss is invisible and the file is small. PNG for text, slides, interfaces, and frames you plan to edit, because it adds no further compression. Neither format improves the frame.
Can I extract a frame from a video with an unusual format?
The uploader accepts common containers, and processing depends on the codec inside. If a file will not process, convert it to MP4 first and extract from the converted file.


