
Why edges come out rough
AI background removal produces a mask: an estimate, per pixel and per frame, of how much of that pixel is subject. Inside the subject and deep in the background, the estimate is easy, and the mask is solid. At the boundary, a pixel may be half hair and half wall, and the model has to pick a value in between. That boundary is where every visible defect lives.
Video adds a second difficulty. Each frame is judged with only limited knowledge of the frames around it, so a boundary that is ambiguous can be drawn slightly differently from one frame to the next. On a still image, that is a soft edge. In motion, it is flicker.
The sections below take the common causes one at a time. The table afterward matches symptoms to fixes.
Motion blur
When a hand moves quickly during the exposure of a frame, the camera records it smeared across many pixels, mixed with the background behind it. There is no sharp edge to find, so the model returns a soft, half-transparent smear, and the next frame may draw it differently. Fast gestures, head turns, and walking are the usual triggers.
What helps: slower movement for the moments that matter, more light so the camera can use a shorter exposure, and a higher frame rate where your camera offers it. Some blur will remain on any genuinely fast motion, and a plain replacement background hides it better than a detailed one.

Loose hair and fur
Single strands are thinner than a pixel and share their pixels with the background. Wispy hair, flyaways, a fluffy sweater, or a pet's fur present thousands of these mixed pixels at once. The model may keep a solid inner shape and lose the fine outer detail, giving a helmet-like outline, or keep a fuzzy band of the old background color around the head.
What helps: hair pulled back or smoothed down, a background that differs strongly from the hair color, a little light on the hair from behind, and a replacement background in a tone close to the original so any remaining fringe is invisible. For hair that must be preserved strand by strand, a green screen with proper lighting remains the more dependable method.
Transparent and reflective objects
Glass, water, smoke, clear plastic, and shiny metal show the background through or on their surface. Those pixels are both subject and background at once, and there is no correct single answer. A wine glass in hand may be cut off, partly kept, or kept with the old background visible inside it. Glasses on a face usually survive, since the frame is opaque and the lenses are small.
What helps: keep transparent props out of the shot when the background will be replaced, or use matte alternatives. If the object is the point of the video, record it on a plain backdrop, or accept a chroma-key workflow.
Low contrast
The model separates by what it can see. A gray shirt against a gray wall, black hair against a dark curtain, or skin tones against a beige background give it very little to work with, and parts of the subject can drop out or the edge can wander. Backlight is a special case: a subject in front of a window becomes a dark shape with glowing edges, and the glow is where the mask goes wrong.
What helps: clothing that differs from the background in both color and brightness, light on the subject rather than on the wall, and a step away from the wall so the subject and the background are not lit the same way.

Noise and low light
In dim rooms, the camera raises its sensitivity and the picture fills with noise, which is random speckle that changes every frame. To the model, noise looks like tiny texture at the edge, so the boundary becomes ragged and unstable. Low light also lengthens the exposure, which adds motion blur to the same footage.
What helps: more light, from a lamp or a window in front of the subject. This is the single most effective change for phone recordings. Noise reduction applied before removal can help slightly, but it also softens edges, so light is the better fix.
Heavy compression
A file that has been through a messenger, a social platform, or a screen recording of a video call has been compressed hard. Fine edge detail is gone, and the picture is built from blocks. The mask inherits those blocks, and the edge looks staircased. Compression artifacts also flicker between frames, which adds edge flicker.
What helps: the original recording from the camera or phone, at its original resolution. If the compressed copy is all you have, expect a rougher edge, and choose a plain replacement background.

Subject leaving or overlapping the frame
The tool expects a main foreground subject. When the subject walks out of the frame and back, the mask has to be re-established, and the first frames after the return can be unstable. When two people overlap, the model may merge them into one shape, or cut a piece from one of them. When part of the subject is cut off by the frame edge, the cutout ends in a straight line there, which looks odd over a new background unless the framing is planned.
What helps: keep the subject in the frame throughout, avoid overlaps, and frame the recording so the cut at the bottom of the picture happens at the waist or chest, where a straight edge looks natural.
Problems, causes, and what to try
| Problem | Likely cause | What to try |
|---|---|---|
| Flickering edge | Motion blur or frame-to-frame ambiguity | Slower movement and better lighting |
| Missing hair detail | Fine strands blend into background | Increase contrast and use a simpler background |
| Halo around subject | Original background color remains near edges | Use a visually compatible replacement background |
| Parts of clothing disappear | Similar subject and background colors | Record with stronger color contrast |
| Blocky mask | Low resolution or heavy compression | Use the original higher-quality file |
| Object in hand cut off | Thin, transparent, or reflective prop | Use a matte prop, or keep it out of the shot |
| Subject flickers after re-entering the frame | Mask re-established after the subject left | Keep the subject in frame, or trim those frames |
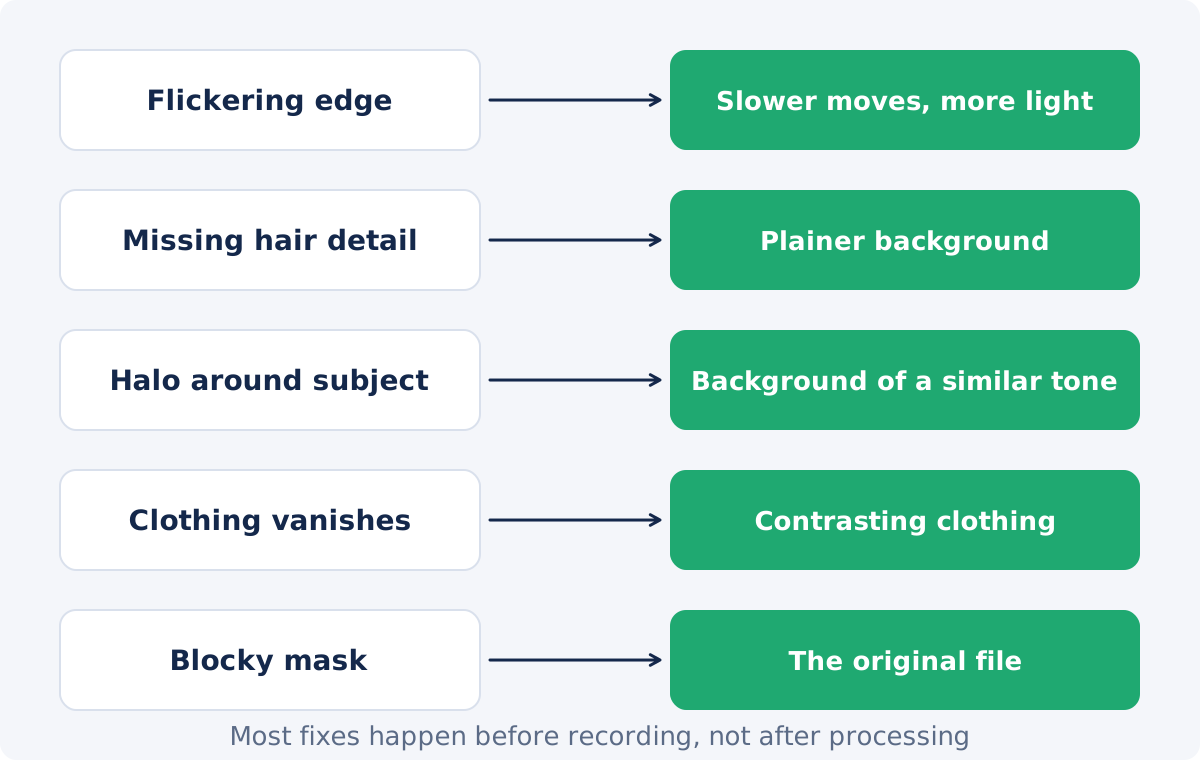
How to improve the recording before processing
Almost every fix above comes down to the same checklist. Five minutes of setup save more than any processing option.
- Put the light in front of the subject, not behind. A window or lamp facing the person, with no bright source behind them.
- Move away from the wall. A meter or more, so the background is darker and softer than the subject.
- Choose a plain background that differs from your clothes and hair. It does not need to be green.
- Dress for contrast. No gray on gray, no black in a dark room, no patterns that match the wallpaper.
- Stabilize the camera and keep gestures deliberate during the important parts.
- Record at good quality and keep the original file. Do not process a copy that came through a chat.
- Stay in the frame, and plan where the picture cuts your body.
- Record a ten-second test and process it before the real session. Adjust, then record.
With the recording done, you can remove the background from your video and judge the edges in the preview before choosing the final output.
How to choose a background that hides small defects
When the footage cannot be improved, the background choice decides how visible the defects are.
- Match the tone of the original. A halo is a fringe of the old background color. Over a similar color, it disappears. A pale room turned into a pale studio hides far more than a pale room turned into a black void.
- Prefer mid-tones to extremes. Pure white shows dark fringes, and pure black shows light ones. Mid-gray, muted blues, and soft gradients are forgiving.
- Prefer soft over sharp. A blurred image or a gradient gives the eye no reference line against which a wobbly edge stands out.
- Avoid busy textures such as bookshelves, brick, and foliage, which show every missing strand.
- Use a solid color first as a test. It reveals the defects clearly, and once you know where they are, you can pick the image that covers them.
Deus.Video applies a slight softening to the mask edge in all three output modes, which reduces hard staircase edges. It does not repair missing detail or stop flicker that comes from the footage.
When to re-record
Re-record when the defect is in every frame rather than in a few: a backlit subject, a shirt that matches the wall, a noisy low-light recording, or a copy with compression blocks throughout. No background choice fixes those, and the recording usually takes less time than the search for a workaround. Trim instead of re-recording when the problem is one gesture, one turn, or one moment where the subject left the frame.
When to use a green screen
Use a green screen when the subject includes fine hair, fur, or veils that must survive strand by strand, when transparent or reflective objects are central, when motion is fast throughout, or when the result must be repeatable across a long session or a series. The backdrop has to be evenly lit and far enough behind the subject to avoid spill, and the keying is done in software built for it. Even then, the AI tool remains useful on green-screen footage, since a plain contrasting backdrop is an easy case for it, and its solid green output can hand a cutout to a keying workflow.
Conclusion
Bad edges come from ambiguous pixels: blur, thin strands, transparency, low contrast, noise, and compression. Fix them at the source when you can, with light, contrast, steadiness, and the original file. Hide what remains with a background of a similar tone and soft detail. Re-record when the defect is everywhere, trim when it is momentary, and reach for a green screen when hair, glass, or constant motion is the whole point of the shot.
Recorded a test clip with better light and contrast? Run it through the video background remover, inspect the edges on a solid color, and compare it with your first attempt.
Frequently asked questions
Why do the edges flicker when the video plays?
The mask is drawn slightly differently from frame to frame wherever the boundary is ambiguous, usually because of motion blur, noise, or compression. Steadier movement, more light, and the original file reduce it. A soft, similar-toned background makes remaining flicker less visible.
Why is there a colored fringe around my subject?
Edge pixels were a mix of subject and the old background, so a little of that color stays. Choose a replacement background of a similar tone, or slightly darker, and the fringe disappears into it. Very different backgrounds, such as black behind a pale room, show it most.
Why did part of my shirt disappear?
Its color and brightness were too close to the background, so the model treated it as background. Record in clothing that differs from the wall, and step away from the wall so it falls into shade.
Can a setting in the tool fix rough edges?
The tool has no manual edge controls. It applies a slight softening to the mask edge automatically. The effective fixes are in the recording and in the choice of replacement background.
Does a higher-resolution recording give cleaner edges?
Generally yes, because fine detail such as hair is captured in more pixels. Sharp focus, low noise, and light compression matter as much as resolution. A blurry or noisy 4K file separates worse than a sharp, clean 1080p one.
Is it worth buying a green screen?
For fine hair, transparent objects, constant fast motion, or long sessions where consistency matters, yes. For talking-head videos, product clips on a plain surface, and social content, well-lit footage against an ordinary wall usually separates well enough without one.
Sources
- Deus.Video, "Remove Background from Video Online" tool page: https://deus.video/remove-video-background/ (accessed September 22, 2026)
- Wikipedia, "Motion blur," for how movement during exposure smears edges: https://en.wikipedia.org/wiki/Motion_blur (accessed September 22, 2026)
- Wikipedia, "Chroma key," for lighting and spill requirements of green-screen keying: https://en.wikipedia.org/wiki/Chroma_key (accessed September 22, 2026)
- Wikipedia, "Compression artifact," for blocking and its effect on fine detail: https://en.wikipedia.org/wiki/Compression_artifact (accessed September 22, 2026)


