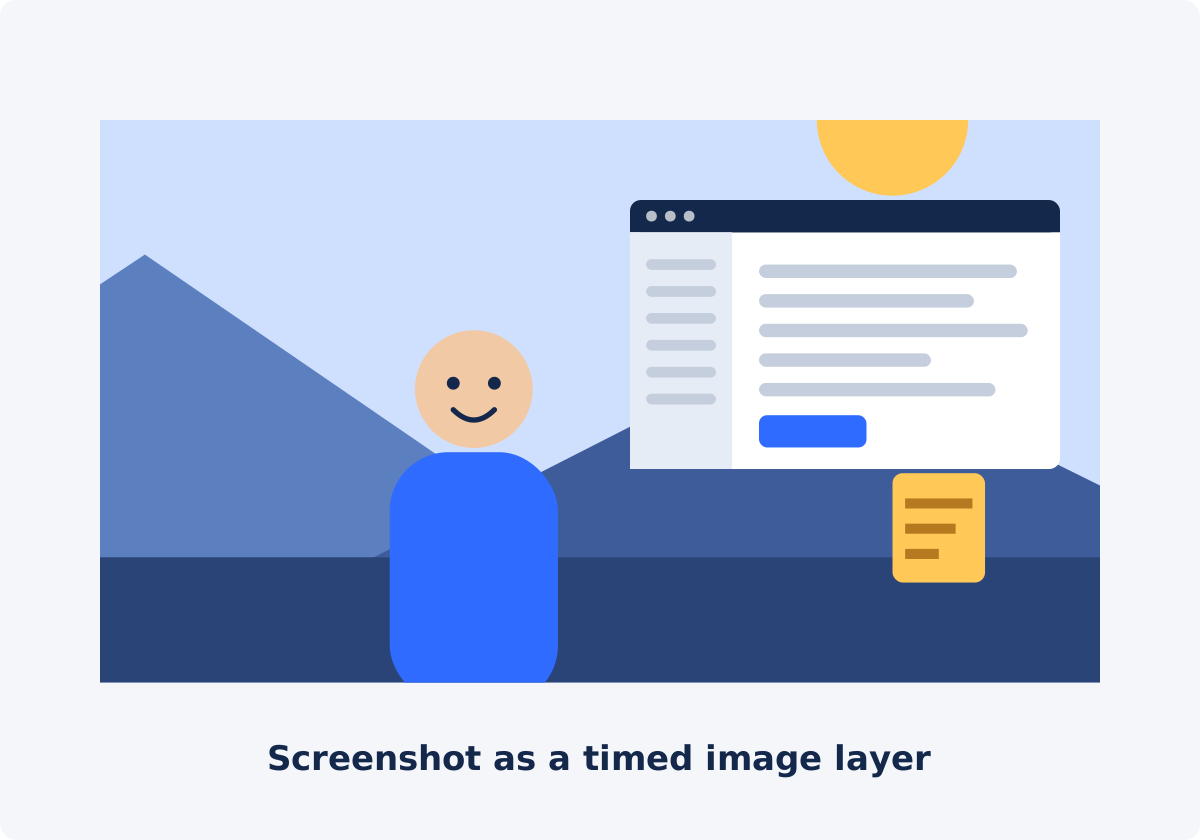
When a screenshot helps the explanation
A screenshot is a still picture, so it suits things that do not need motion.
- A setting or a value. "Set the export quality to High" is clearer with the dialog on screen.
- A result. Show what the viewer should see after a step, so they can compare it with their own screen.
- Something the recording missed. A menu that closed too fast, a step you forgot to capture, or a screen from another device.
- A talking-head tutorial. When you explain software on camera, screenshots give the viewer something concrete to look at.
- An error message. The exact wording matters, and a still gives people time to read it.
A screenshot is the wrong choice for a process. If the viewer needs to see where the cursor goes and what happens after the click, use a screen recording.
Crop before you upload
The tool places the whole image as it is. It has no crop function, no blur, and no masking, and it does not detect sensitive data for you. Open each screenshot in an image editor first.
Remove what is private
A full-screen capture often contains more than you intended: browser tabs, bookmarks, email addresses, account names, notifications, file paths, and the contents of other windows. Crop them out. If private information sits inside the area you need, cover it with a solid shape in the image editor. A solid block is safer than a light blur, which can sometimes be read.
Remove what is unnecessary
Cropping is also about focus. If the step concerns one dialog, crop to that dialog plus a little context. A tight crop lets you display the important part larger, which makes its text easier to read.
Add highlights in the image
If you want an arrow, a box around a button, or a step number, draw it in the image editor and save it as part of the screenshot. For labels that may change later, keep them out of the image and add them as editable text with Add Text to Video.
Readable resolution and the mobile check
Interface text is small and thin. It is the first thing to become unreadable when an image is scaled down or compressed.
- Capture large. Take the screenshot on a high-resolution display, or zoom the application in before capturing, so the text is made of more pixels.
- Do not enlarge a small capture. Scaling an image up does not add detail. The letters only get softer.
- Save as PNG. PNG keeps text edges and flat interface colors clean. JPG compression tends to leave smudges around letters.
- Think in phone terms. A screenshot shown at a quarter of the frame on a phone is only a few centimeters wide. If the viewer must read it, it needs most of the frame.
- Check after processing. The processed video is encoded again, and platforms compress uploads further. Judge readability in the downloaded file, on a real phone.
How to add timed screenshots in Deus.Video
With the screenshots prepared, use the Add Image to Video tool to add an image to a video online and time it to your narration.
- List your screenshots and times. Watch the tutorial and note when each screenshot should appear and disappear, for example "0:42–0:50, export dialog."
- Upload the video. Common formats such as MP4, MOV, AVI, WebM, and MKV are accepted.
- Click Add image and choose the first screenshot. It becomes a layer, which is a separate image with its own settings.
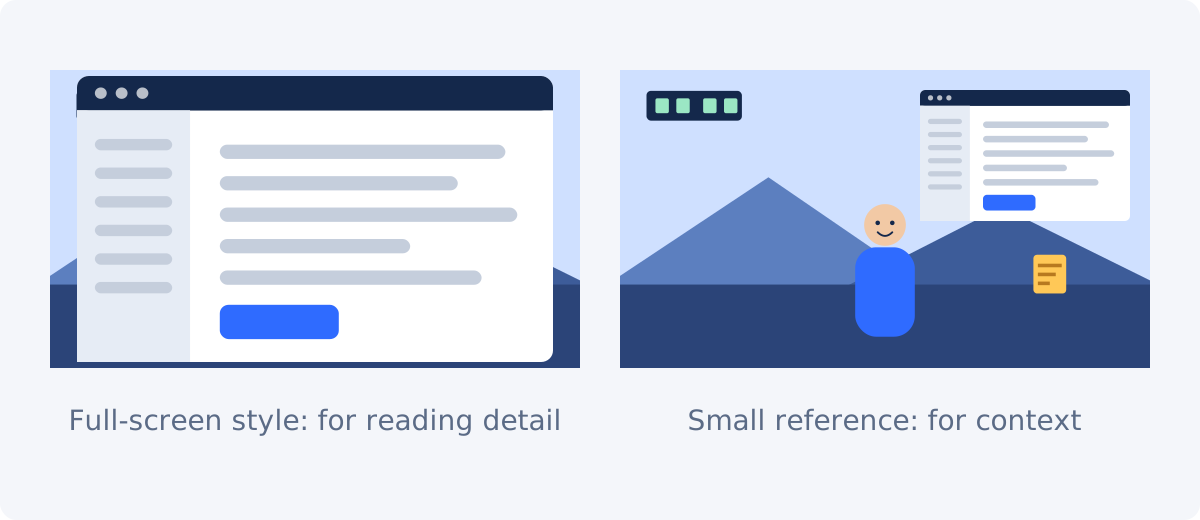
- Choose the treatment. Use the Center preset as a starting point for a large, full-screen-style image, or drag the layer to a corner for a small reference.
- Set the size. Use the corner handles or the Width and Height fields, keeping the proportions of the screenshot.
- Enter Start and End from your notes. The timeline is the time axis of the video, and the layer is visible only between these two times.
- Repeat for the other screenshots. Each one appears in the layer list with its file name and time range.
- Preview with sound. Check that each screenshot arrives when you mention it.
- Click Add images to video, download the result, and watch it on a phone.

Full-screen-style screenshot or small reference overlay
Full-screen style
The screenshot covers most or all of the frame for a few seconds. Use it when the viewer must read the content: settings, code, tables, error text. The underlying video is hidden for that time, so place it where the picture is not essential, while the narration continues.
To fill the frame cleanly, the screenshot should have the same aspect ratio as the video. Aspect ratio is the relationship between width and height. A 16:9 screenshot fits a 16:9 video. If the shapes differ, either crop the screenshot to the video's ratio beforehand, or accept that some video remains visible around it. Do not force the fit with unequal Width and Height values, because that stretches the interface.
Small reference overlay
The screenshot sits in a corner while you keep talking on camera. Use it for recognition, not for reading: "this is the icon you are looking for," or "you should now be on this screen." Crop it tightly so the key element is still recognizable at a small size.
Showing several screenshots in sequence
Tutorials often need a series: step 1, step 2, step 3. A few habits keep the sequence tidy.
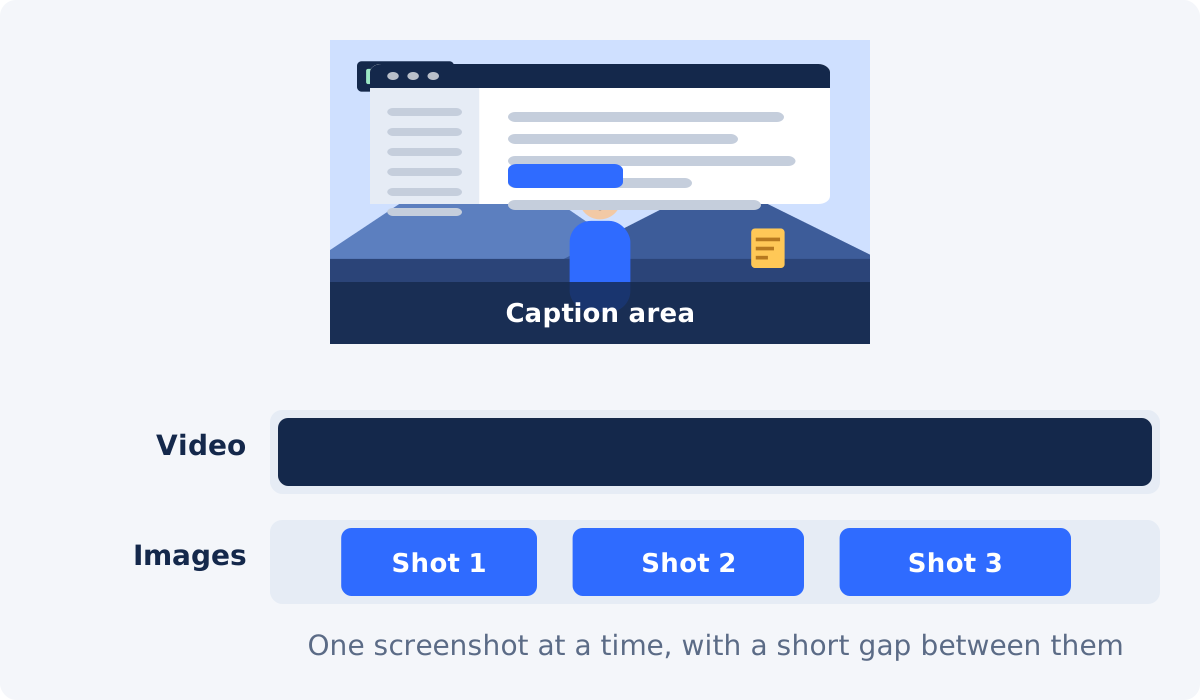
- One at a time. End each screenshot before the next begins, unless you are deliberately comparing two.
- Leave a short gap. Half a second of plain video between screenshots tells the viewer that something changed. Two similar screenshots back to back can look like a glitch.
- Keep position and size consistent. Write down X, Y, Width, and Height from the first screenshot and reuse them, provided the screenshots have the same proportions. Images that jump around the frame are tiring to follow.
- Mind the overlaps. If two layers share time and position, the later layer may cover the earlier one. Check every handover in the preview.
- Name the files in order. "01-open-settings.png" and "02-export-dialog.png" are easy to match with the entries in the layer list.
Coordinate screenshots with subtitles and text
Captions normally occupy the lower part of the frame. If your tutorial has subtitles, or will get them through Add Subtitles, plan for that space.
- Size full-screen-style screenshots so they end above the caption area, or accept that captions will sit over the bottom of the image, and keep nothing important there.
- Put small reference overlays in the upper corners.
- Avoid showing a text-heavy screenshot while a long caption is on screen. Viewers cannot read both at once.
- Do not read the screenshot aloud word for word. Say what to look at, and let the image carry the detail.
Screenshot treatments and their risks
| Tutorial situation | Screenshot treatment | Risk |
|---|---|---|
| Viewer must read a settings dialog | Full-screen style, tightly cropped to the dialog | Text too small if the crop is loose |
| Presenter on camera mentions an app screen | Small reference in an upper corner | Unreadable on phones if it carries detail |
| Step-by-step sequence | Same size and position for every shot, short gaps between them | Overlapping time ranges hide one shot behind another |
| Error message or exact wording | Large, centered, held long enough to read twice | Removed too early |
| Before-and-after of a setting | Two crops of equal size, side by side | Different crop sizes make the comparison misleading |
| Screen from a phone app in a 16:9 video | Tall image beside the presenter, not stretched to fill | Distorted interface if width and height are forced |
| Screenshot containing account details | Crop or cover in an image editor before upload | Private data published in the video |
Privacy checklist
Go through this list for every screenshot before uploading it. Once a video is published, a frame can be paused and enlarged by anyone.
- Email addresses, usernames, and profile pictures
- Browser tabs, bookmarks bar, and address bar contents
- Notifications and message previews
- File names, folder paths, and recent documents lists
- License keys, access keys, tokens, and passwords, including partly hidden ones
- Customer names, order numbers, invoices, and financial figures
- Internal URLs, IP addresses, and server names
- Other people's names, faces, or messages
- Time, date, and location details, if they matter to you
- Content you do not have the right to publish, such as paid material behind a login
The safest approach is a demo account with sample data, created for recording tutorials.
Conclusion
Most of the work happens before the upload. Crop each screenshot for privacy and focus, capture it large enough to read, and decide whether it is a full-screen-style moment or a small reference. Then place the images as timed layers, keep them consistent, keep them clear of captions, and review the processed file on a phone. If the tutorial also needs cuts, animated highlights, or combined text and audio work, continue in the full Deus.Video editor.
Screenshots ready? Open the Add Image to Video tool, add each one as a layer, and set when it appears.
Frequently asked questions
Can I blur part of a screenshot in the tool?
No. The tool does not blur, mask, or edit the content of an image. Hide sensitive areas in an image editor before uploading, preferably with a solid shape.
Can I draw arrows or boxes on the screenshot?
Not inside the standalone tool. Add arrows and highlights in an image editor, or upload an arrow as a separate transparent PNG layer and position it over the screenshot. For editable labels, use Add Text to Video.
How long should a screenshot stay on screen?
Long enough to read it twice at a relaxed pace. A simple dialog may need three to four seconds, and a dense settings page may need eight or more. If it takes longer than that, the screenshot probably contains too much, and a tighter crop will help.
My screenshot looks blurry in the final video. Why?
Usually the source image is too small for the size at which it is displayed, or it was saved as a heavily compressed JPG. Capture at a higher resolution, save as PNG, and crop tighter so the important part fills more of the frame.
Can a screenshot cover the whole video frame?
Yes, if you size the layer to match the frame. It works cleanly when the screenshot has the same aspect ratio as the video. Otherwise, crop it to that ratio first, so you do not have to stretch it.
How many screenshots can I add?
You can add multiple image layers to one video, each with its own timing. For a long tutorial with many images, cuts, and captions, the full editor is easier to manage.


